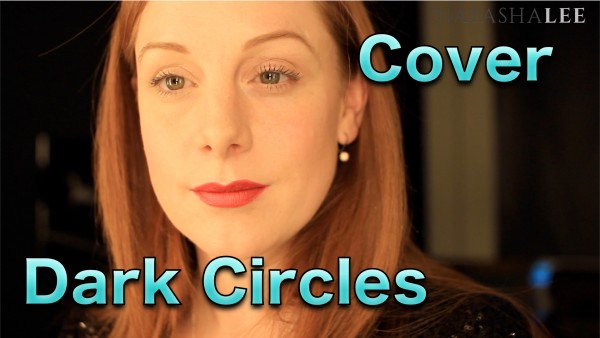
Having red hair and (so I’ve been told) a peaches and cream complexion can be really striking and very British, not great however when you have to learn from a young age how to cover dark undereye circles! My youngest son (poor bugger) has taken after me with his colouring and so even after a full nights sleep, at only 3 years old it really doesn’t take much for him to look washed out because of his dark under eye circles. I’ve tried many products, including corrective concealers through the years trying to find a way to quickly and effectively cover my dark undereye circles without caking myself in makeup, and this is the best method that I have found to date. The fact that it’s quick, lasts all day and only requires 3 products is a complete boon. 🙂
After years of chatting with clients about their hair and make-up tribulations, I decided to bring you a series of Essential Beauty Basics weekly for the next 5 weeks. These blogs and vids will show basic beauty and hair tricks, that can be achieved easily at home by anyone with a minimal number of products.
HOW TO COVER DARK UNDEREYE CIRCLES

This method only requires 3 products and 3 tools. To make life a little easier for you, here is a list of the products and tools which you can purchase by clicking on the links. As time goes on I may find products and tools that I prefer, but right now, these are my favourites!
Products
BENEFIT STAY DON’T STRAY BASE (Shade – Light/Medium)
MAC PRO LONGWEAR CONCEALER (shade NW20)
BOBBI BROWN CONCEALER KIT (Shade – Ivory)
Tools
REAL TECHNIQUES CONCEALER BRUSH
HOW TO COVER DARK UNDEREYE CIRCLES
STEP 1
Begin with a cleansed, toned and moisturised face paying particular attention to ensuring that that eye area is moisturised. Allow the moisturiser to absorb into your skin. If you are planning on wearing foundation, apply this first (but do not apply setting powder until after you have finished covering your dark undereye circles).
STEP 2

Using Benefit “Stay Don’t Stray” primer, apply 3 or so dots to your dark under eye area and another 3 dots to the eyelid. Using the Real Techniques Concealer brush, blend the dots paying particular attention to the dark areas right under the eye and at the side of the bridge of your nose (by the inner corner of your eye).
STEP 3

Then apply some Mac Pro Longwear Concealer to the back of your clean hand. Again using your Real Techniques Concealer brush, apply the concealer on the eyelid, in the inner corner of the eye/bridge of the nose and under the eye in a triangle shape. then blend with the brush. If you find you can’t get a flawless finish with the brush, just pat over the area with a clean damp BeautyBlender sponge. If you still haven’t completely covered your dark under eye circles, simply repeat Step 3. The MAC Pro Longwear is a buildable concealer so you can keep applying until you get the look and coverage that you want.
Step 4
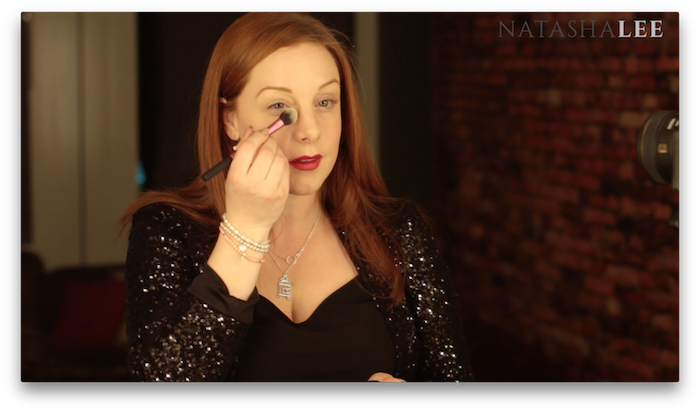
It’s time to set the concealer in place. You can use your usual face power for this, my current favourite is the MAC Mineralise Skinfinish in Light Plus, however you can get a better effect at covering your undereye dark circles if you use a yellow toned correcting powder such as the Bobbi Brown Concealer Kit which contains a concealer and a yellow toned fine powder for around the eyes which will help to counteract the dark shadows and bags. Apply a light dusting to cover all of your concealer using the Real Techniques Dusting Brush from Sam & Nic Chapman.
That’s it, you’re done!! Only requires 3 products, takes just a few minutes and lasts all day!
I hope you’ve enjoyed this blog & vid on How To Cover Dark Undereye Circles. Look out for the next blog and video in this series next Friday at 7pm on “How To Make Your Eyes Look Bigger, Brighter & Whiter”. Again with only 3 special products, a couple of minutes and some clever techniques!
xNx
*contains affiliate links


