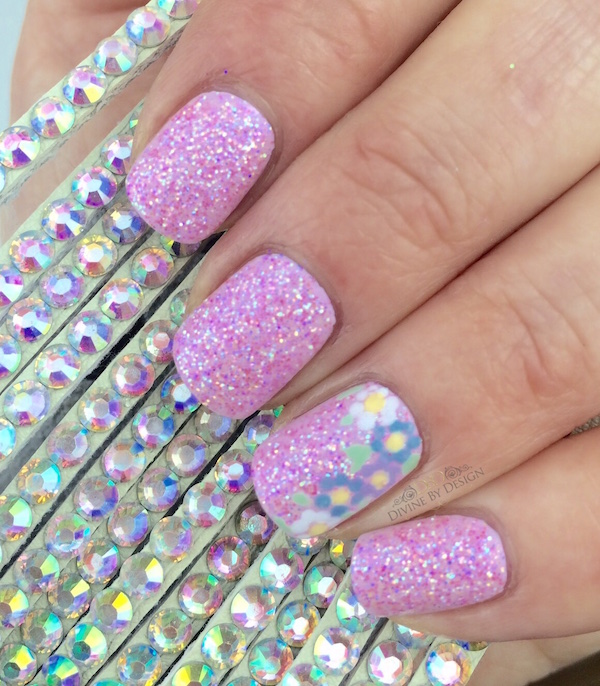
 It’s felt like an eternity since I was able to set foot in my studio and blog again, but here I am YAYYYY! For those of you that don’t know, I’ve moved house *groan*. After feeling like a bit of a nomad for the past few years, we’ve finally found our dream home and just finished decorating and settling in. I’ve got lots of new blogs for you coming up very soon, with some fantastic lifestyle ideas, but as I finished setting up my new studio this week I wanted to bring you some easy glitter daisy nail art right in time for the summer to ensure that you have perfect fingers and toes ready for the sun and holidays! There’s a video tutorial at the bottom of the page if you want to watch how it’s done in real time too 🙂
Easy Glitter Daisy Nail Art
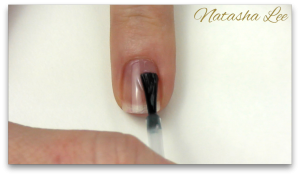 Once you have finished your cuticle work, filed & shaped your nails, and cleansed (I have a blog here to show you how to do this) you’re ready to go straight in with a layer of base coat. Apply to all 10 nails and leave it a couple of minutes to dry. If you struggle getting a neat application when applying your nail polish and more tends to end up on the skin than the nails ;), then just take a look at my blog and video here to show you how to paint your nails like a professional.
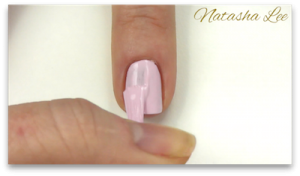 Take your chosen polish colour, I’m using a lovely pastel baby pink, and apply neatly to all 10 nails remembering to cap the ends with a little polish (this means run a little polish over the end of the nail to give a professional look and stop it chipping. Leave it for a couple of minutes to dry depending on the brand that you are using.
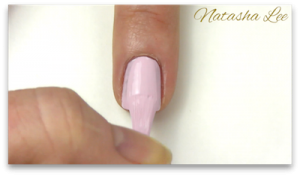 Now you are ready to paint your second colour coat, you want to only apply the second coat to 2 nails at a time. This is so that the polish stays wet for the glitter to stick to, to help you create your perfect and easy glitter daisy nail art. If you’ve applied your first coat really neatly, your second coat will be super quick to apply.
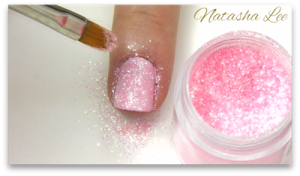 Once you’ve applied your second coat of colour to 2 nails, make sure you have your chosen glitter and a dry brush ready. I’m using Lecenté Iridescent glitter in Baby Pink and a Gel Brush which is perfect for applying glitters and pigments to nails. Pick up some of the glitter on your brush, and holding your brush over the nail – but not touching it – tap the brush to sprinkle the glitter over the wet polish. Repeat this process on all 10 nails, 2 at a time.
 Leave the polish to dry for a few minutes, or until it is touch dry, then using your gel brush, lightly brush off the excess glitter from around the nail and on the polish. Just take care that the polish has set enough and that your brush strokes are light.
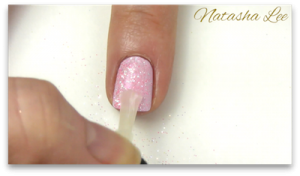 Once you have brush off the excess glitter, you need to seal it in before doing your nail art. I’ve used a clear shimmer polish but if you don’t have one, you could just use a layer of top coat. At this stage, if you love just the pink glitter and don’t want nail art, then either use a coat of the shimmer and finish with top coat, or just do 2 layers of top coat.
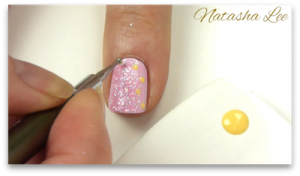 Once your shimmer layer is dry, you are ready to start applying your nail art. Ideally for this you should use a dotting tool as it gives you great flexibility and control, but if you don’t have one you could use a cocktail stick, end of a pencil or a bobby pin opened out. Place a blob of pastel yellow nail polish on a wipe clean tile, and using your dotting tool, randomly place a few dots down the side of the nail where you want your daisies.
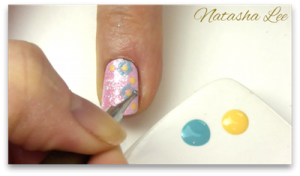 Then using a pastel blue polish, apply dots around a couple of your yellow dots to create daisies. If you struggle with this, then theres a video at the bottom of the page to help you.
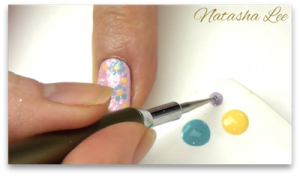 Repeat this again with a lilac polish.
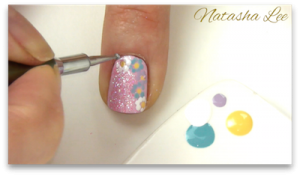 Then complete your daisies with a nice crisp white polish.
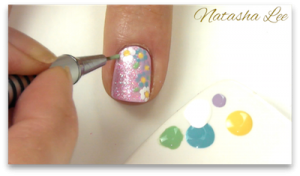 Your final stage to complete your cute and easy glitter daisy nail art, is to put some leaves in. For this, you’re best with a nice pastel green and a fine detail brush. Again if you don’t have a fine detail brush, you can just use a cocktail stick or the nib of a sharpened pencil.
 Once your gorgeous nail art is dry, you are ready to finish your nail design with a slick of top coat (remembering to seal the ends of your nails to prevent chipping) and Hey Presto! You have the most amazing but easy glitter daisy nail art nails that will have people asking where on earth you get your nails done! Have fun, and let me know on Instagram, Twitter & Facebook how you get on. If you need any extra help, just take a peek at the tutorial that I’ve filmed for you below. xNx
Easy Glitter Daisy Nail Art


