Pusheen Nail Art – I thought it was time to have a little fun and I haven’t done any detailed nail art tutorials for a little while so I thought I’d bring you these super cute Pusheen nails featuring Pusheen as a Pusheenicorn! ?? (now there’s a sentence that I never imagined I’d ever be typing!! ). There’s quite a few colours in this design but you don’t have to use the colours that I have and can use whatever you have available, but the technique I show you will help you to achieve any of your favourite Pusheen nail art designs.
PUSHEEN NAIL ART PRODUCTS/TOOLS
All of the products listed below are what I have used to create this look and all the links are clickable if you want to be able to purchase the items yourself x
CND STICKEY BASE COAT
NAILSINC PRO SOHO LANE
STARKLY ECLIPSE (U.S. Stockist, UK stockist is doing a “Ross” and is on a break! As soon as they are up and running again I will update the links xx
CND VINYLUX FIELD FOX
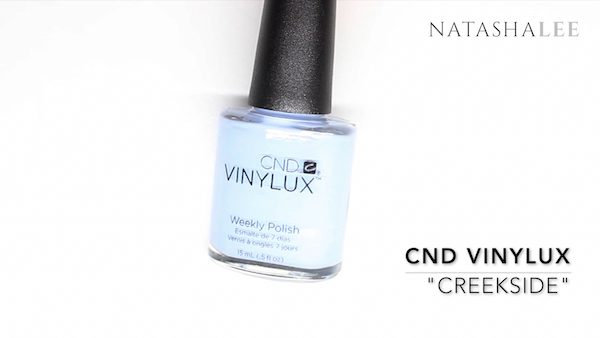
CND VINYULUX CREEKSIDE
OPI LOOK AT MY BOW!
CND VINYLUX SUN BLEACHED
OPI GELATO ON MY MIND
CND VINYLUX CREAM PUFF
CND VINYLUX ASPHALT
ALL THAT JAZZ BANG THE DRUMS
OPI MATTE TOP COAT
NAILSINC VITAMIN E OIL PEN
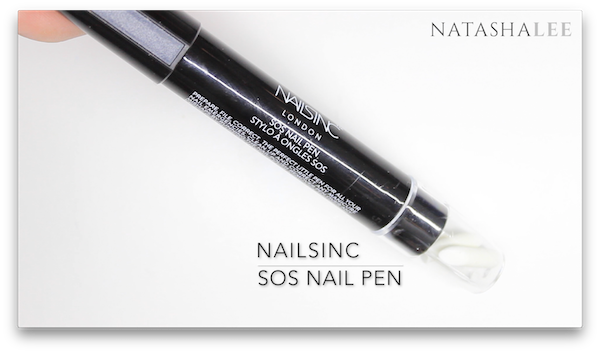
NAILINC SOS NAIL PEN
PURE COLOUR STRIPING BRUSHES
PUSHEEN NAIL ART METHOD
 Once you have filed and cleansed your nails, apply base coat to all 10 nails.
 Apply your base colour, I’m using this lovely soft dusky pink/rose colour from Nails Inc. Take you time applying this first coat to make it nice and neat. The neater your first coat, the quicker you can apply your second coat and it means less tidying up after.
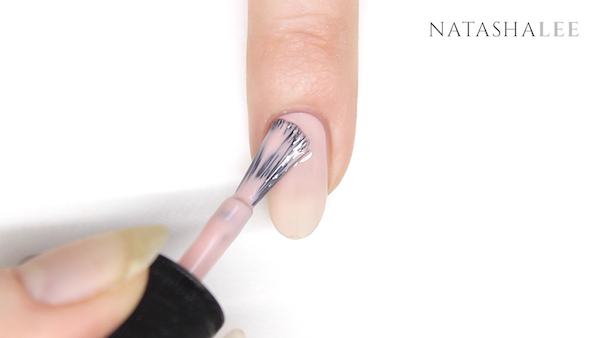
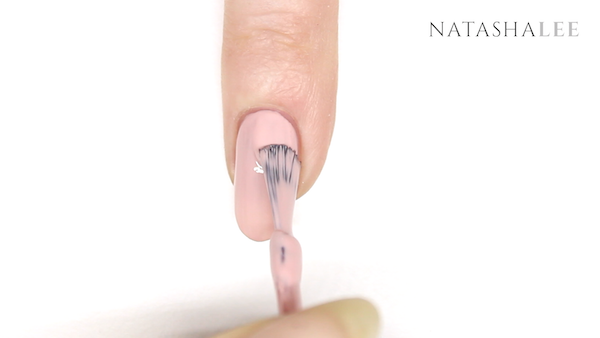 Apply to all 10 nails and allow to dry. Then apply your second coat of colour to all 10 nails and allow to dry. Remember to cap the ends of the nails to prevent chipping.
 This next step is optional, but I love a good holo sparkly polish, so I added in a thin layer of Starrily Eclipse for a little something extra 😉
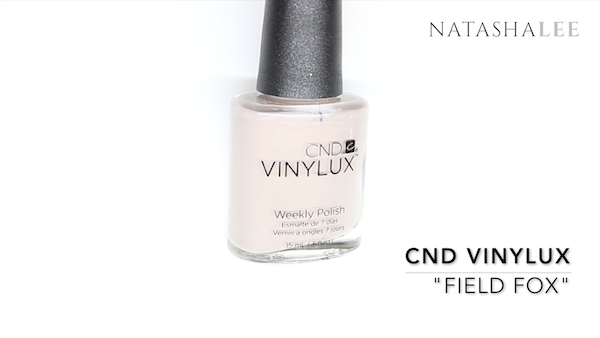 Now you are ready to start painting Pusheen (or to be precise…Pusheenicorn!). Decant some CND Vinylux in Field Fox onto a tile, ceramic coaster, saucer or plastic backed pad. Using a fine detail brush start by painting a little horizontal line around the middle of middle finger, and paint 2 triangles – one at either end of the line.
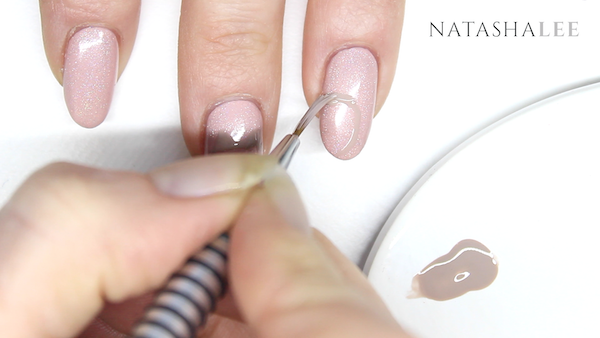 Then paint a curved line down from the left triangle (this will be the side of Pusheen’s face) and paint a semi circle shape on the ring finger which will form Pusheen’s back. Fill in the design using the polish brush from the bottle. Apply a second coat of the Field Fox to get a fully opaque coverage.
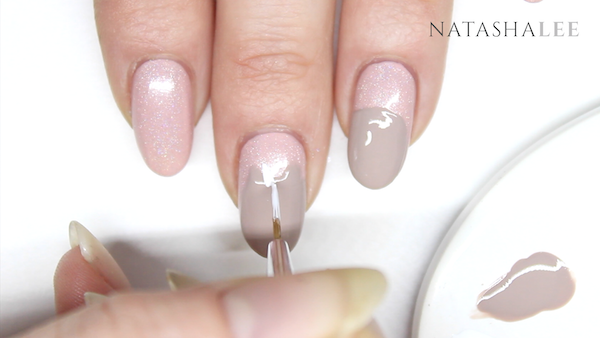 Now we are going to paint Pusheenicorn’s horn. Using CND Vinylux in Cream Puff and your fine detail brush paint a long thin “V” shape and join it up at the base. Then using the same white polish, take a large ended dotting tool and create a thought bubble by joining up dots of white nail polish. Then take a fine end dotting tool and create little thought bubbles from Pusheen’s head.
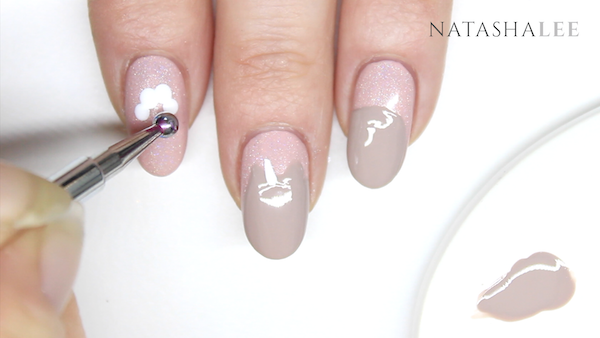
 Mix some grey polish (I’m using CND Vinylux in Asphalt) with your Pusheen base colour to make the perfect colour for Pusheen’s stripes. Using your fine detail nail art brush apply a little stripe next to Pusheen’s horn, and another 2 on Pusheen’s back.
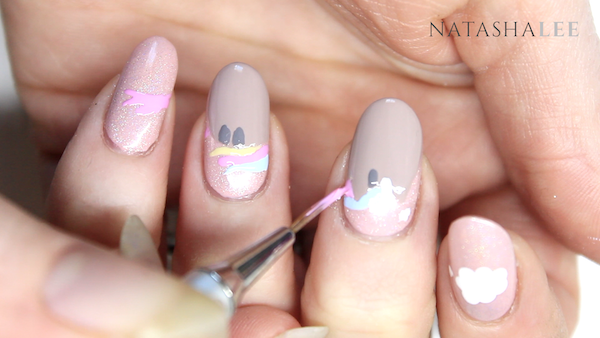
 Now we are going to start painting Pusheenicorn’s rainbow mane and tail. I started with a pale blue and painted a wavy line from the side of Pusheen’s horn. You may have to change your hand position to make this a little easier. Continue with the line onto your ring finger above Pusheen’s back to start your windswept mane.
- Continue painting the mane using your fine detail brush and a pink polish and finish the mane with a soft yellow.
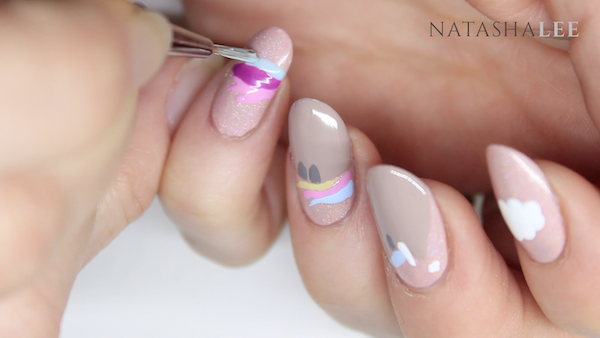
- Do the same to paint the tail using a pink, purple and soft green/blue.
- Using your pale pink (OPI’s Look At My Bow!) and a medium dotting tool, create a little heart inside the thought bubble on your index finger by drawing a “V” shape.

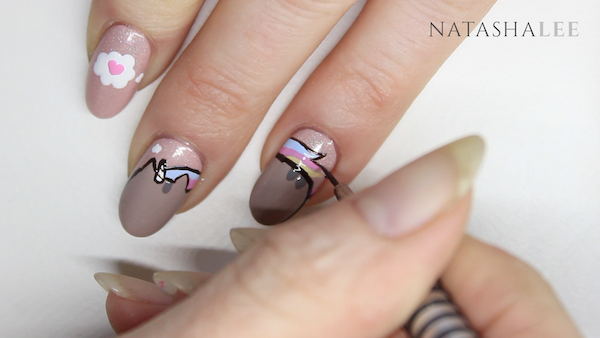 Now you are ready to paint your outline, which is where the design really POPS!!! Using a fine detail nail brush (or cocktail stick) and a dark brown polish like All That Jazz’s Bang The Drums, outline all the areas of Pusheen that you have created. To create Pusheen’s eyes and nose, use a fine end dotting tool and apply a dot for each eye, just below where each ear is, and create Pusheen’s mouth and nose with 2 little curved lines.
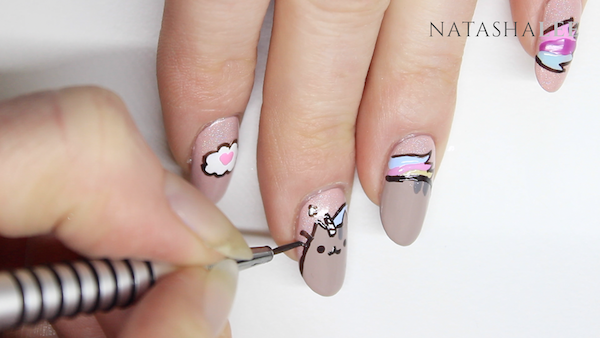 You can either leave your thought bubble as it is, or you can also outline it. Don’t forget to paint some little whiskers on for Pusheen’s cute little face ? If you do get any polish on the skin you can easily clean it off using the Nails Inc SOS Nail Pen.
- Now you are ready to top coat. I’m using the OPI Matte Top Coat. I did however notice (albeit too late) that the matte top coat seems to really smudge the design so apply it really really generously if you can to avoid it happening!
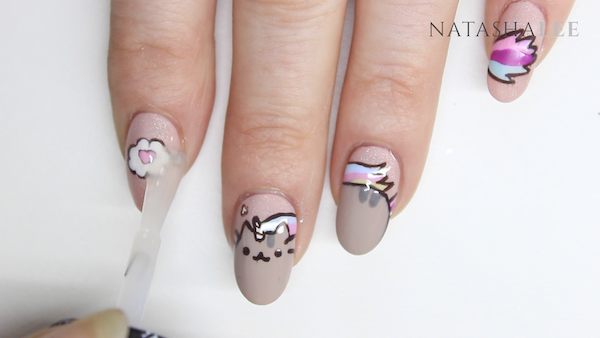
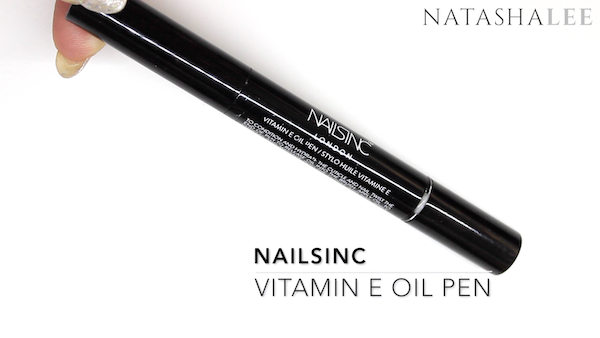 Once your top coat is dry, moisturise your cuticles so the finished design looks absolutely perfect. I’m using the Nails Inc Vitamin E Oil Pen. Just apply it on the skin around the nails and massage in.
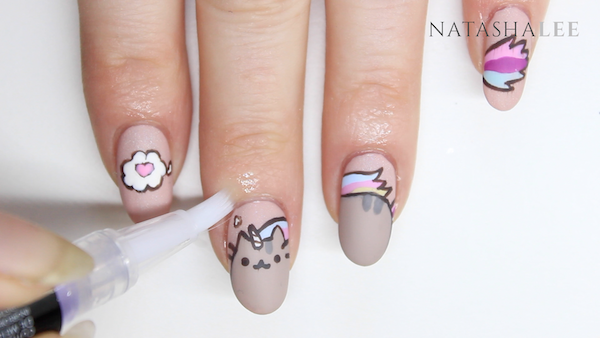
- And here is the finished design!! I love this Pusheen nail art design, it is just so cute and the matte top coat gives it a lovely soft look.

Please let me know if you give this design a try out yourself and tag me on social media or use the hashtag #NatashaLeeBlogger. If you want to watch the step by step then I have a video at the top of the page.
Love & Ginger hugs
Tasha xxx


