Nail Trend Pearl Glitter Nail Art – It’s week 2 in the Nail Trends series and this week I’m bringing you this stunning white pearlescent glitter ombré effect nail art. It’s so wearable and beautiful that it’s not only perfect all year round but ideal for bridal/prom/wedding nails! If you want to see Nail Trends Week 1 – Pastel Tip French, then it’s available here.
This look was inspired by a simply gorgeous mani that I spotted on the catwalk for AW 16 that was created by Kiss products. However, the original mani had some slightly lethal looking shards at the tip so this is the safer and more wearable version 😉 I think this nail trend of Pearl Glitter nail art would look amazing not only for holiday or christmas, but also for weddings. Just be careful not to upstage the Bride as these are show stopping!

NAIL TREND PEARL GLITTER NAIL ART PRODUCTS
As always I’ll start by giving you the list of products that I used to create this quick and easy nail art look. I picked these up both in my local Salon Services and online but I’ve included links to where you can buy all the products online if you click on each of the products below 🙂 x
CND STICKEY BASE COAT
OPI KITTY WHITE
ALL THAT JAZZ Stella’s-Draped in Pearls
CHINA GLAZE LUXE AND LUSH
SECHE VITE TOP COAT
NAILSINC VITAMIN E OIL PEN
SILICONE CLEANUP TOOL
NAIL TREND PEARL GLITTER NAIL ART METHOD
 Begin by performing cuticle work and filing your nails, then cleanse them. I have a blog post here which explains how to do this at home. Once your nails are cleansed and dry, apply a nice thin layer of base coat to all 10 nails.
 At this stage I’m going to apply OPI’s stunning Kitty White. However, this is a very sheer polish so to achieve an opaque look you can either apply 3-4 coats of Kitty White, or apply a white base colour and then 2 coats of Kitty White. Take your time applying your first coat carefully as it makes it easier to apply your other coats of polish quicker. If you get any polish on the skin you can use a silicone tool to easily clean any mistakes up.

 Once all 10 nails are touch dry you can go straight in and apply your second coat of Kitty White to all 10 nails and once all 10 nails are again touch dry, follow with a third/fourth (unless you have have applied a white base layer, in which case you will probably only need 2 coats of Kitty White 😉 )
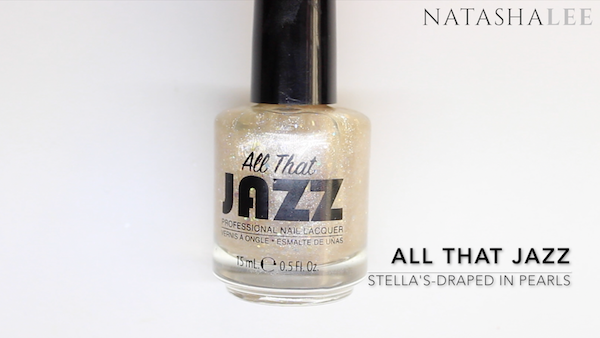
When all 10 nails are touch dry, you are ready to really start creating your nail trend pearl glitter nail art! Using All That Jazz, Stella’s-Draped in Pearls, apply to the top third of the nail only on all 10 nails.
 Allow to touch dry. It’s up to you if you decide to go in with a second layer but I found that one was glittery enough!
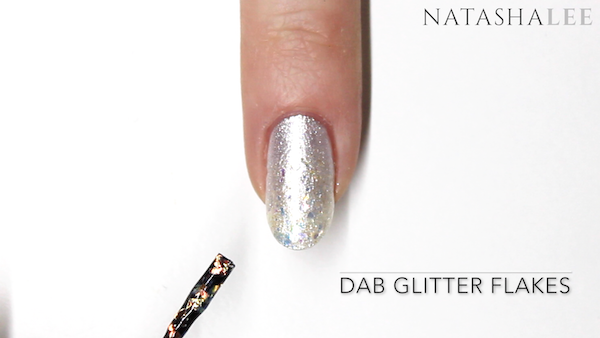
 The final stage in creating our Nail Trend pearl glitter nail art is to take China Glaze Luxe and Lush and apply again to the top third of the nail. Then put the brush back into the bottle and scoop around to pick some of the glitter flakes up on the brush. Let the excess polish drip off the brush leaving just the glitter flakes stuck to the nail polish brush. Dab these onto the wet tips of the nail and move them into place for maximum sparkle effect! It’s best to do this one nail at a time.
 Now you’re ready to apply top coat. I love the Seche Vite Top Coat. It’s the best top coat that I’ve used to date as it dries so quickly and is so shiny and durable. Apply this generously by floating the top coat over the nail. You do this by having a good amount of the top coat on the underside of the brush and then place the brush on the nail so that it is completely parallel to the nail. This helps you to evenly apply the top coat without streaking or without the bristles digging into the colour underneath and marking it.
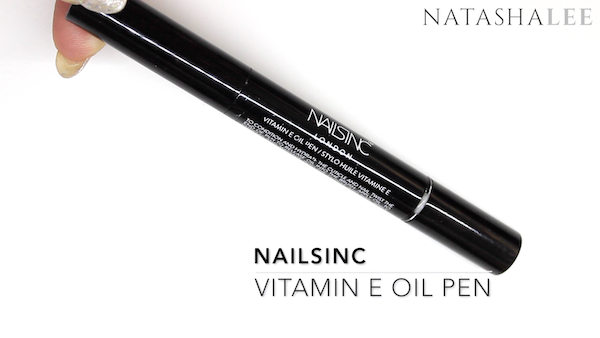 Finally it’s time to finish the nail trend pearl glitter nail art mani with a slick of cuticle oil to keep the skin around the nails looking beautiful and healthy. I like the NailsInc Vitamin E Oil pen when I’m out and about as I can keep it in my handbag and grab it when I get a couple of minutes to myself (this doesn’t happen as often as I might like!). Also it’s very easy to control if you want to take a picture of your nails as it doesn’t flood the cuticles and massages in well.
That’s it, your Nail Trend Pearl Glitter nail art nails are finished! This look is so stunning and yet so easy to achieve. There’s a video tutorial at the top of the page if you prefer to watch and follow the steps. I love this look, so feminine and elegant but at the same time it’s got a quality that really turns heads. It’s also a great nail art look for short nails, and perfect for weddings and proms, or even a subtle look if you love nail art but can’t get away with something too blingy in your work place!

I hope that you enjoyed this tutorial, I was looking forward to doing this one as it’s so simple but really WOW! Be sure to tag me on my social media or leave me a comment on my YouTube channel to show me any designs that you’ve tried yourself. Links to all my social media are in the little icons at the top right of the page.
Love & Ginger hugs
Tasha xx


