Nail Trend Pastel Tip French – Yayyyy!! It’s that time of year again when we get a hint of what will be filtering down into the high street and what’s on trend with Fashion Week (AW16). I’ve been keeping a close eye on the nails appearing on the catwalk and decided to bring you a weekly series of “Trend Alert” nail tutorials. This will normally be on a Monday but I was just tooooooo excited and wanted to bring you the first one today!!
 I immediately noticed the resurgence of the french tip with a bit of a twist. Gone are the pink and whites of the 90s and in it’s place is a much more funky and pretty element. I particularly liked the opaque bases shown by Essie. There was also the reinvention of pastel tones so I decided to couple the two together to bring you Spring/Summer 2016 nails based on AW16 Fashion Week. The first in my “Trend Alert” series is the “new” nail trend-Pastel French tips. I say “new” because pastel french tip manicure nails have been around for a while and tend to have a rebirth every spring, but the reinvention this time is with a beautiful latte-nude opaque base.
Nail Trend Pastel Tip French Products
You could use what you have available in terms of products to recreate this look, but below is a list of what I have used and if you click on each item it will show you where you can purchase the products. I actually picked the Miss Beauty nail polish up in my local Poundland store, and the OPI, Seche Vite and NailsInc Vitamin E Oil Pen in my local SalonServices but if you don’t have any of those local to you the links will show you where you can buy online. x
OPI TIRAMISUE FOR TWO
OPI LOOK AT MY BOW!
OPI GELATO ON MY MIND
CND VINULUX SUN BLEACHED
MISS BEAUTY PASTEL BLUE
CND VINULUX CREEKSIDE
SECHE VITE TOP COAT
NAILSINC VITAMIN E OIL PEN
Nail Trend Pastel Tip French Method
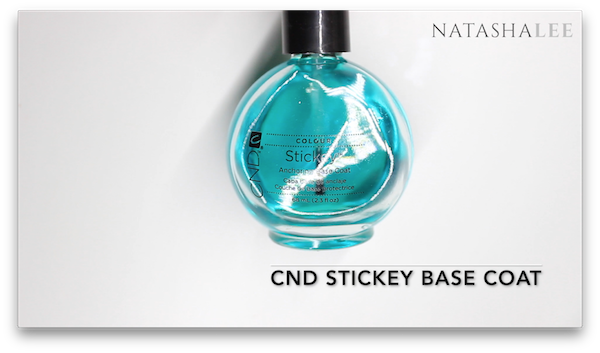 Begin by performing cuticle work and filing on your nails and cleanse them. I have a blog post here which explains how to do this at home. 🙂 Once your nails are cleansed and dry, apply a nice thin layer of base coat to all 10 nails.
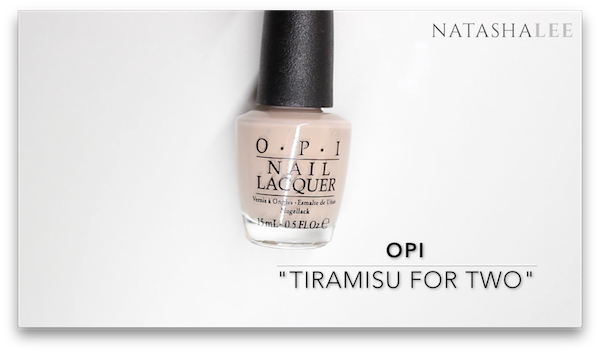 Using OPI Tiramisu For Two, apply a nice even coat of polish. It’s best to lean both of your hands on a desk or table to have maximum control and keep your painting neat. Take your time slowly applying this first coat as it will make life easier with less cleaning up and mean that you can apply your second coat quicker. If you do get any polish on the skin, just dip a chisel eyeshadow brush in some polish remover and wipe it carefully off (keep this brush just for nails once it’s been used in remover 😉 ) Once you’ve applied to all 10 nails and it’s touch dry, apply your second coat. Don’t go right up to the edge of the first coat of polish so that you can keep your nice neat line from the first coat and apply quicker.
 It’s time to start painting your nail trend pastel french tips! Again, take your time so you can get a nice neat smile line. I find it easiest to paint a nice neat french manicure if I lean both of my hands on the table, have a little polish on the brush, and start at the outside edge of the nail and slowly sweep to the centre in a rainbow shape. Do the same on the other side of the nail and meet at the centre. I started by applying OPI Look At My Bow! to my ring fingers.
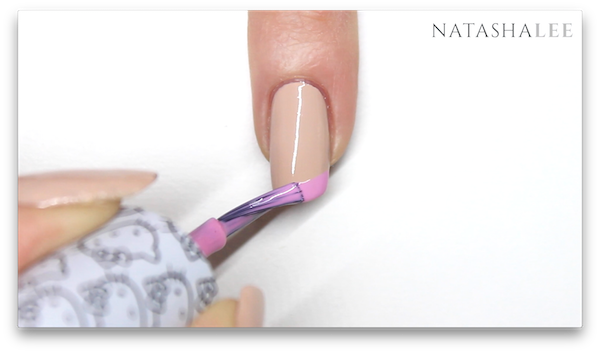 If the french tip is a bit narrow, go back in whilst the polish is wet and apply it wider this time. If you have a build up of too much polish on the tip, don’t worry. Just turn your polish brush vertically and gently pull off the excess polish and even up the thickness of the polish on the tip. This will also get rid of any patchiness in the coverage.
- Repeat this process with all 10 nails. I applied each “nail trend” pastel tip french colour to one finger on each hand…
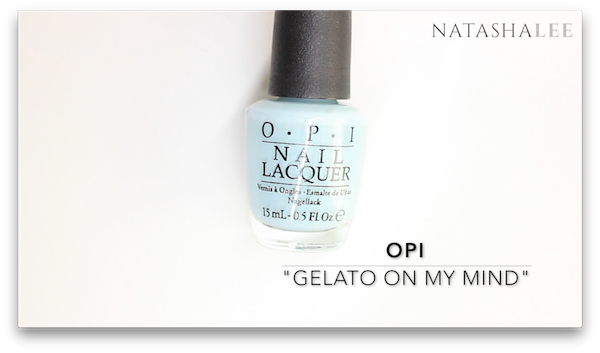 …with OPI Gelato On My Mind to my little fingers/pinkies….
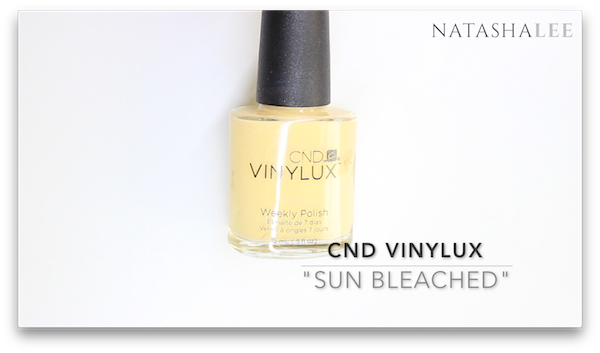 CND Vinylux in Sun Bleached to my middles fingers…
 …Miss Beauty Pastel Blue (which is actually a lilac) on my index fingers…
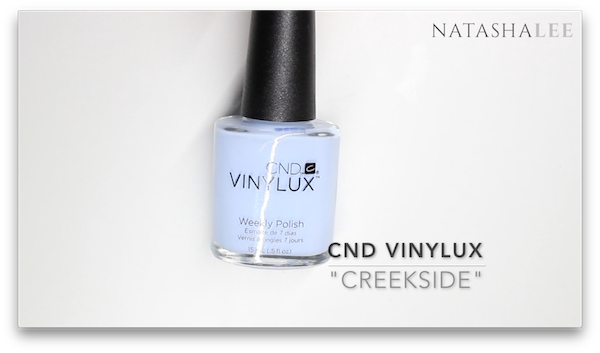 ..and finally CND Vinulux Creekside on my thumbs.
 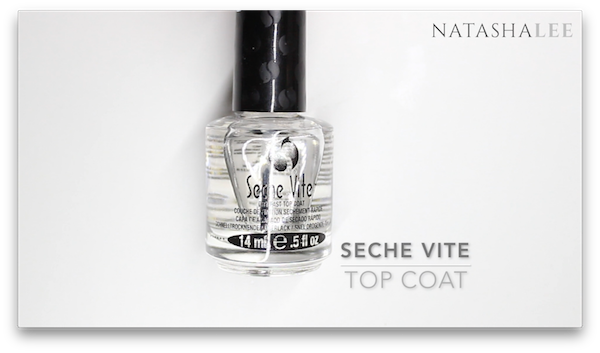 Once your french pastel tips dry, you are ready to apply your top coat. My favourite to date without shadow of a doubt is Seche Vite. It’s a thicker top coat so needs to be applied generously and “floated” onto the nail but the shine and durability are amazing. To float your topcoat, have a generous amount on the underside of the brush (but not quite enough to drip) and holding the brush parallel to the nail, just rest and stroke the brush over the nail. You don’t want it to drag as that can streak your polish beneath it, so it’s always best to have enough topcoat on the brush so the bristles never actually touch your nail polish, just the top coat.
 To finish off your nail trend pastel tip french look apply a slick of the NailsInc Vitamin E Oil Pen. Now I normally apply my Gel II Cuticle Oil or CND Solar Oil 1-2 times a day, but I keep this nifty little pen in my handbag. It’s not as intensive as the other 2 professional cuticles oils, but likewise it’s not quite as greasy and soaks in much quicker so I tend to apply it in a flash whilst I’m sat in the car waiting to pick the kids up from school. Also if you like to take pictures of your mani’s, this is just enough that it stops your “cuticles” and skin around your nails looking dry, but likewise it’s easy to control and soaks in quickly for perfect pictures!
 Your finished nail trend Pastel Tip French is done!! I adore this look. The opaque base covers a multitude of sins and is really flattering. I think it helps to make the design look more “professional” too. This is such a lovely easy nail art trend to achieve, and you can change the colours of the french tips to suit your personality/clothing/polish colours that you already own. It takes a little practise to get neat french tips, but this method that I’ve detailed I’ve found to be the easiest to get the hang of and easier to do on your “wrong” hand too.
Let me know how you get on if you try out these nail trend pastel tip french, be sure to tag me on social media or leave me a comment on my YouTube channel to show me any designs that you have done yourself, whether or not they’ve been inspired by my blogs or videos. I love nails and adore seeing everyones work. Links to all my social media are in the little icons at the top right of the page.
Love & Ginger hugs
Tasha xx


