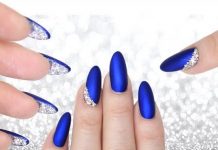
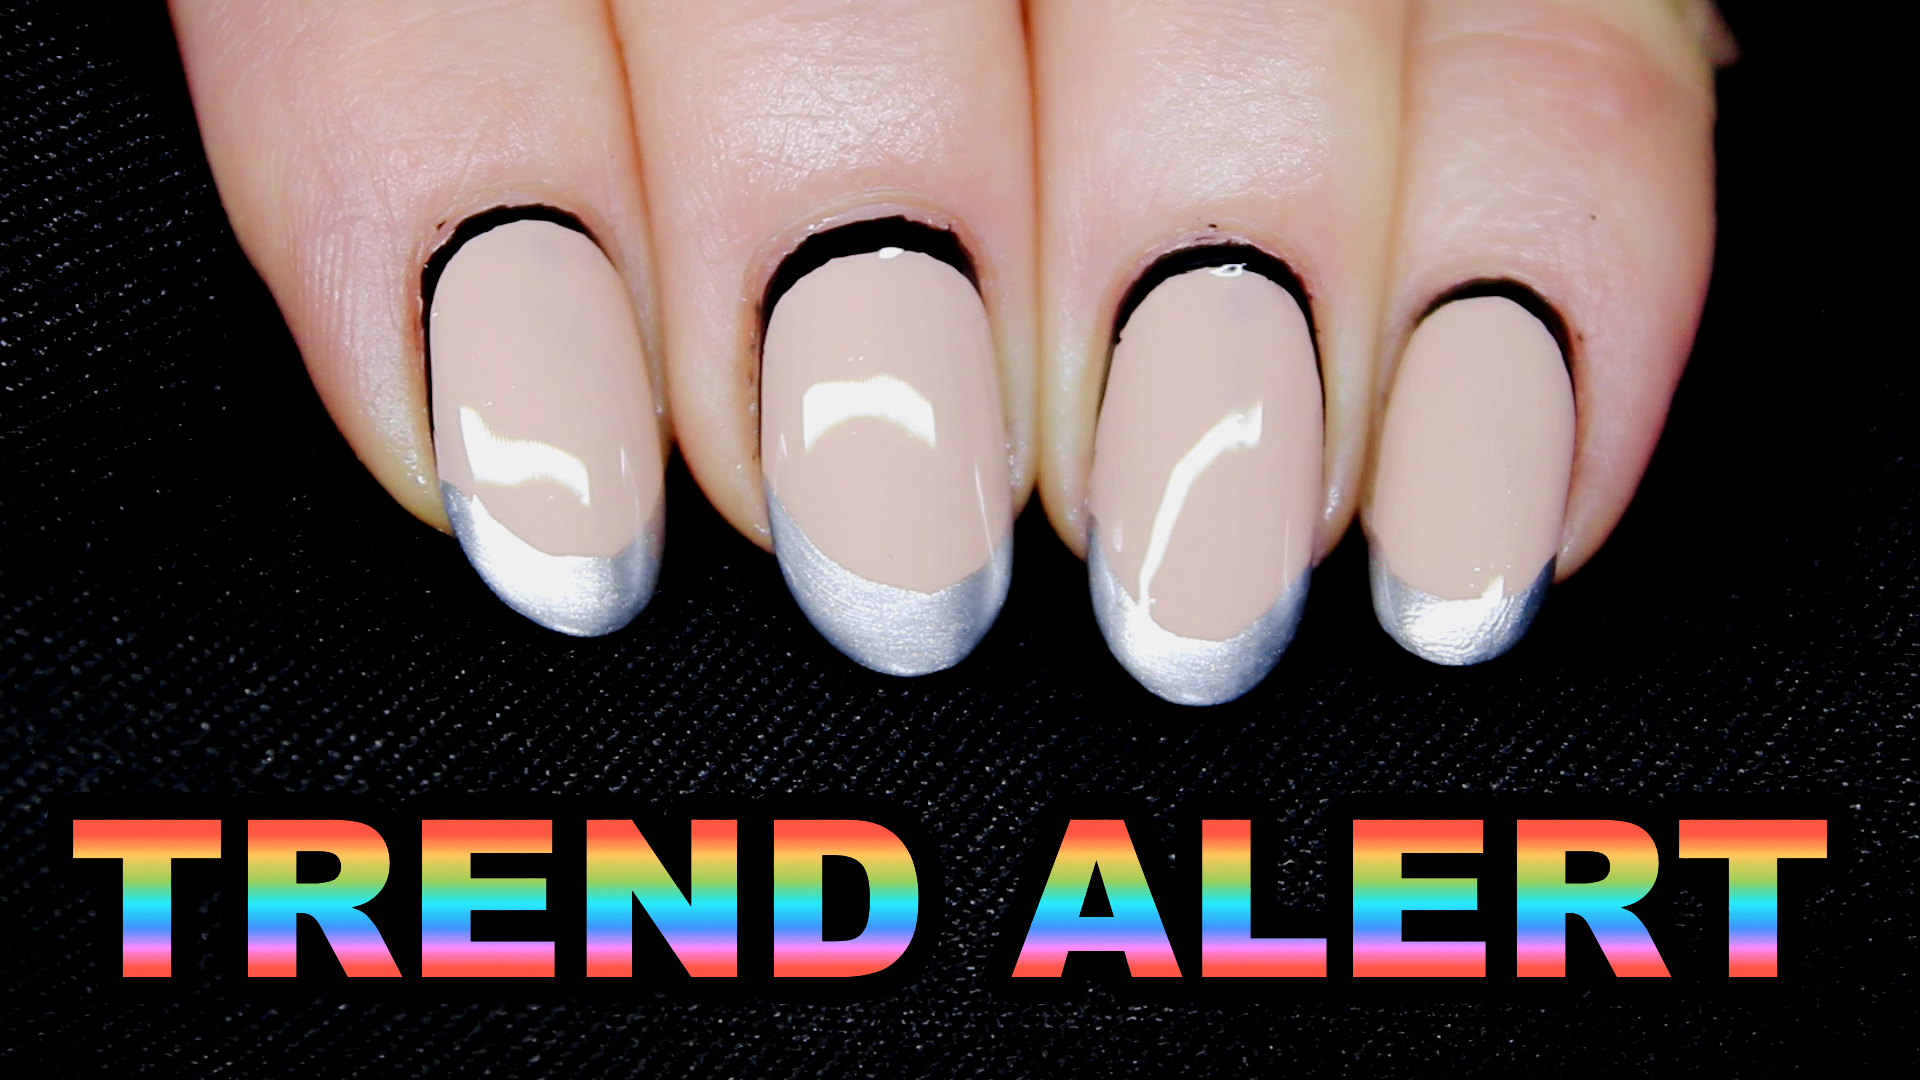
Silver Tip Nude French Nail Art– It’s week 3 in the Nail Trends series and this week I’m bringing you this gorgeous silver tip nude french nail art. I fell in love with this design as soon as I saw it on the catwalk. The original design is by Gina Edwards for Morgan Taylor in the Jonathan Simkhai AW16 show. These are so elegant and subtle that they would even look perfect for the professional that can’t normally get away with nail art at work. If you want to see Nail Trends Week 1 – Pastel Tip French, then it’s available here and Week 2 – Pearl & Glitter Ombré is available here.
SILVER TIP NUDE FRENCH NAIL ART PRODUCTS
I’ve included a list below with clickable links of where you can by all the products online, although I picked these up myself both in my local Salon Services and various places online.
CND STICKEY BASE COAT
OPI TIRAMISU FOR TWO
BARRY M SILVER FOIL EFFECTS
CND VINULUX BLACKPOOL
SECHE VITE TOP COAT
NAILSINC VITAMIN E OIL PEN
NAILINC SOS NAIL PEN
PURE COLOUR STRIPING BRUSHES
SILVER TIP NUDE FRENCH NAIL ART METHOD
 Begin by filing and cleansing your nails with either Isopropyl Alcohol (or rubbing alcohol), Acetone, Nail Polish remover or a specialist nail cleanser. Allow to dry.
 Apply a nice thin layer of base coat to all 10 nails and allow to dry. Remember to cap the ends of the nails to prevent the polish prematurely chipping.
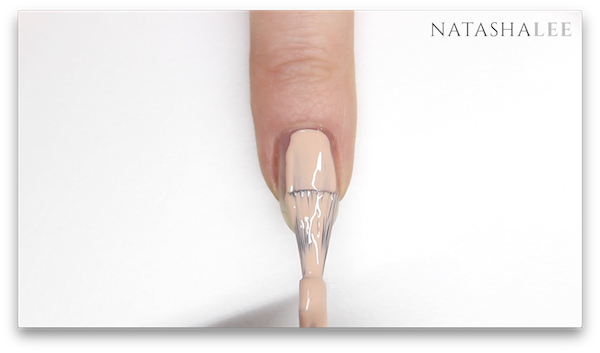
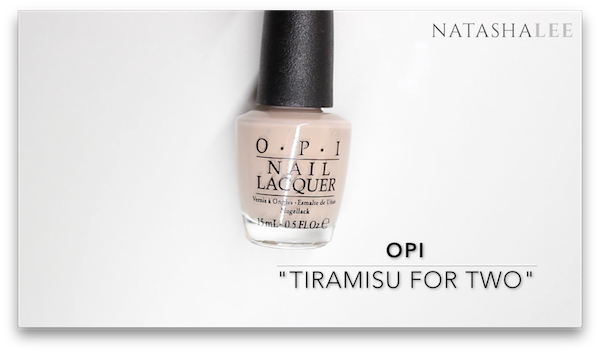 Now you are ready to apply your first layer of your base colour, and I’m using OPIs Tiramisu For Two. Take your time applying your first coat nice and neatly so that it’s easier to quickly apply your second coat.
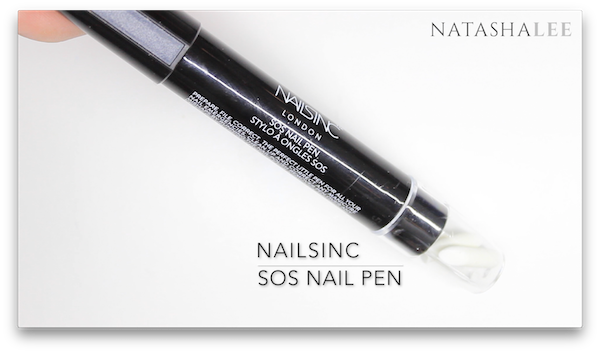 If you do get any of the polish on your skin, don’t worry as you can just dip a brush in acetone or nail polish remover and brush off. Alternatively, I’m really loving the NailsInc SOS Nail Pen, which even comes with 3 spare nibs! You can see from the picture that I’ve been using my current nib rather a lot!
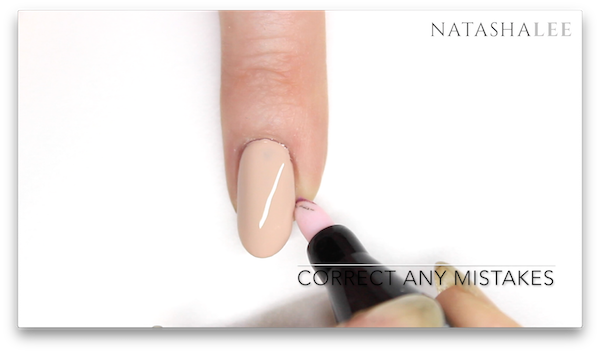
- Apply your second coat of base colour to all 10 nails and allow to dry.

 Now you are ready to start the art! This design is very simple but it does help to lean both hands on a table or desk so that you have steady hands. Using Barry M Foil Effects in Silver (or a similar silver nail polish) apply a french tip. I find the easiest way to do this is by starting at one side of the nail and sweeping towards the centre of the nail in a rainbow/arch shape. Then do the same from the opposite side of the nail and meet in the middle. If your french tip is uneven just go in with a bit more polish to straighten it up.
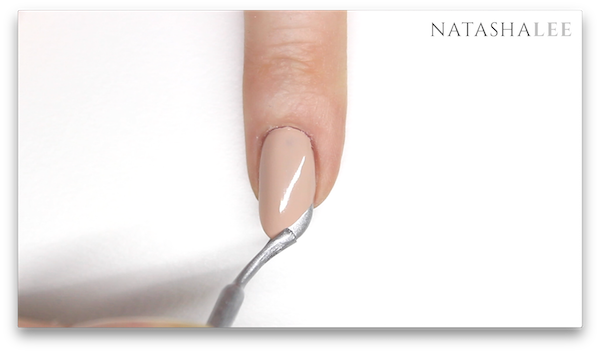
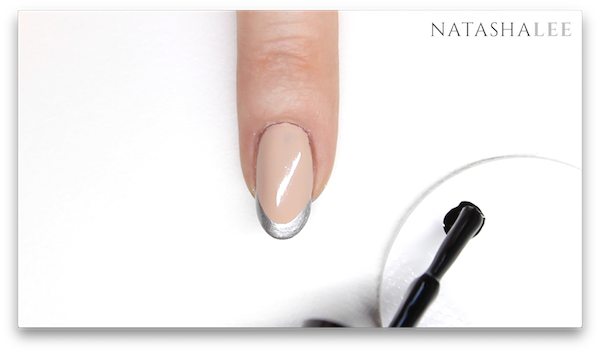 Next decant some black nail polish (I’m using CND Vinylux in Blackpool) onto a tile or plastic backed pad. Then using a fine detail nail art brush or striping brush (my absolute favourite are the pure colour brushes available here), carefully paint a line around the cuticle area/base of the nail and draw it up the sides of the nail to meet with the silver french tip. I find the best method is to start in the centre at the base of the nail and draw up one side, then go back to the centre and draw up the other side. Your gorgeous silver tip nude french nail art designs are almost complete!
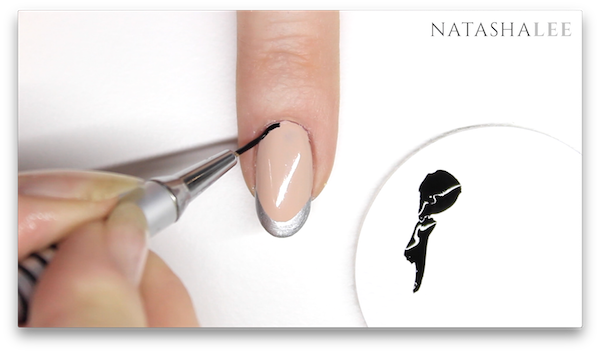
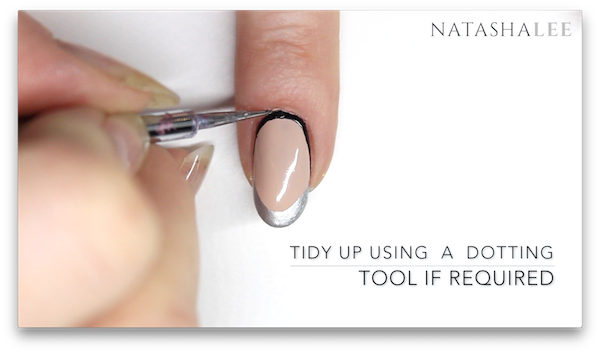
- If you make the line too wobbly, just thicken it up by reapplying to even out the line. If you get any polish on the skin or around the cuticle area, you can either clean it up using the NailsInc SOS Nail Pen, or using a fine pointed dotting tool.
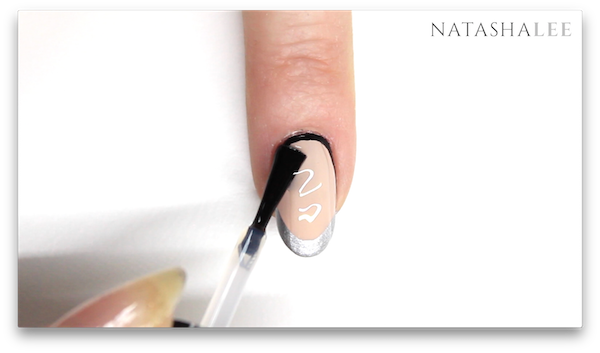
 Once the black polish is dry you are ready to apply your top coat. My favourite is the Seche Vite top coat and it needs to be applied generously and by floating it over the nail. If you are worried about the black polish smearing and ruining the design, then you can watch my video at the top of the page to show you how to dab the top coat onto the black polish and then draw off the excess polish.
 Once the nails are dry, finish off with a quick slick of cuticle oil (I’m using the NailsInc Vitamin E Oil Pen) and massage in.
- VOILA! YOUR FINISHED BEAUTIFUL SILVER TIP NUDE FRENCH NAILS! I’m in love with this design and I was gutted when I had to take it off earlier than I had planned as I had an event where I had to wear a different colour.
Let me know how you get on if you try this tutorial or any of my others and tag me on my social media (links are on the top right of the page). Don’t forget to subscribe to my YouTube Channel “Natasha Lee” so that you never miss out on any of my videos which are uploaded twice a week. If there’s anything you’d particularly like to see, then just leave me a comment ?.
Love & Ginger hugs
Tasha xx


