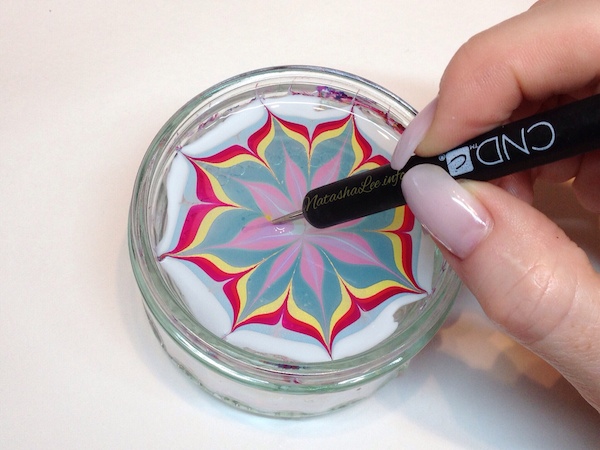
Of all the different types of nail art that you can do at home, Water Marbling has to be one of the easiest yet most affective methods. It can be as bright and bold, or subtle and sophisticated as you wish and doesn’t really need any specialist equipment. Most people will have suitable items at home.
What You Need For Easy Water Marble Nail Art
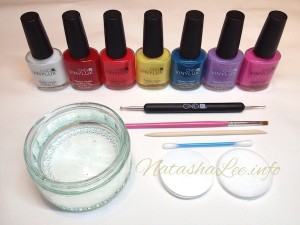
- a variey of colours including a very pale cream colour for the base, preferably a pure White. (avoid mixing creams, metallics & shimmers as this can lead to problems with the colours spreading on the water)
- a dotting tool (or another sharp object like an orangewood stick or cocktail stick)
- cotton buds/Q-Tips
- cotton pads/Lint Free Pads although Plastic Backed Pads are far more effective (and easier to use, not to mention they protect your manicure on your other hand and are amazing for removing stubborn polish)
- polish remover or pure acetone
- a small dish with a wide surface area (e.g. a ramekin dish or if you don’t have a ramekin to hand, a mug would suffice temporarily)
- top coat (and base coat if you are not using a brand with a built in base coat)
- a small stiff brush with square shape (*optional)
Getting Ready To Water Marble
- Fill the dish with room temperature water up to 1cm from the rim (tap water is fine if left to stand at room temperature for a little while)
- Paint the nails with base coat and then a very pale colour (eg the white polish)
- Shake all of the colours you are planning on using and then have the caps off all the bottles unscrewed and now you are ready to go!
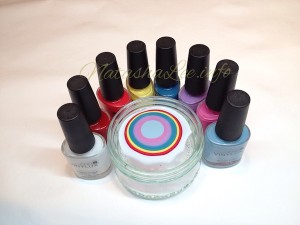
- Begin by dropping a droplet of the white polish from the brush into the water.
- Repeat with each of the colours, dropping each one into the centre until you are happy with the number of colours. If any colour doesn’t spread when dropped into the water, then lightly tap the side of the dish to encourage it to spread.
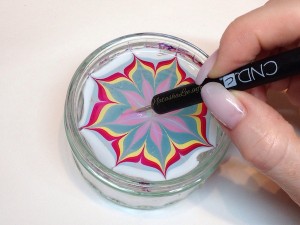
- With your dotting tool, place it into the middle of the colours and draw it out to the edge so the polish touches the side of the dish. Clean off the dotting tool on a lint free pad. Repeat from the centre to the opposite side to anchor the polish to the dish and prevent the design tearing.
- Repeat this a few times around the circle of polish.
- Now place your dotting tool between each line already drawn and into the first colour next to the white e.g. on the picture above the dotting tool was placed into the pale blue (not the white as that can tear the design) and draw into the centre. Dip the dotting tool down when you reach the centre to avoid tearing the design. This will give you a flower/starburst like pattern.

- Choose an area of the pattern you like and place the finger, nail side down, into the pattern on a slight angle with the tip entering first to avoid air bubbles.
- Hold the finger in that position and with a cotton bud, sweep over the surface of the water to remove all of the remaining pattern.
- When all the residual polish is removed lift the finger out of the water.

- The nail (and some of the skin) will have the design on it. Some people like to “tape” the finger to reduce this but I prefer this method.
- With a fine pointed dotting tool or orange stick, run the tip around the base of the nail by the cuticle/sidewalls/skin to break the polish seal, separating the polish on the nail from that on the skin.
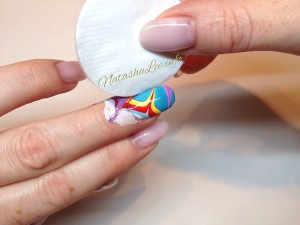
- Lightly soak your plastic backed pad with polish remover or acetone
- With the plastic side against the nail, carefully remove the polish on the skin around the nail, without touching the polish on the nail.
- Remove the rest of the polish off the skin easily with the same pad.
- Take your square/chisel brush dipped in remover and carefully run it around the edges of the skin to produce a really neat finish
- Repeat with the other fingers. You can place 4 nails at a time into the design instead of 1 which can quicken up the process and give some fantastic finished designs.
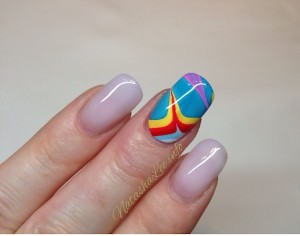
- Apply your top coat to make the finished look really shine and there we have really easy water marble nail art with nail polish!
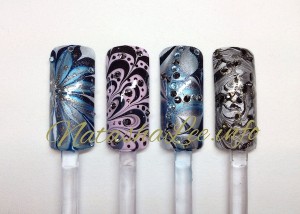
Alternatively, you can use your dotting tool to add some dots in the design, or you can use a cream or metallic polish to give some extra detail or quite simply embed some crystals or studs into the top coat for a totally different look. With a little practise you will be able to produce fantastically intricate designs far quicker and crisper than you could paint by hand. xNx


