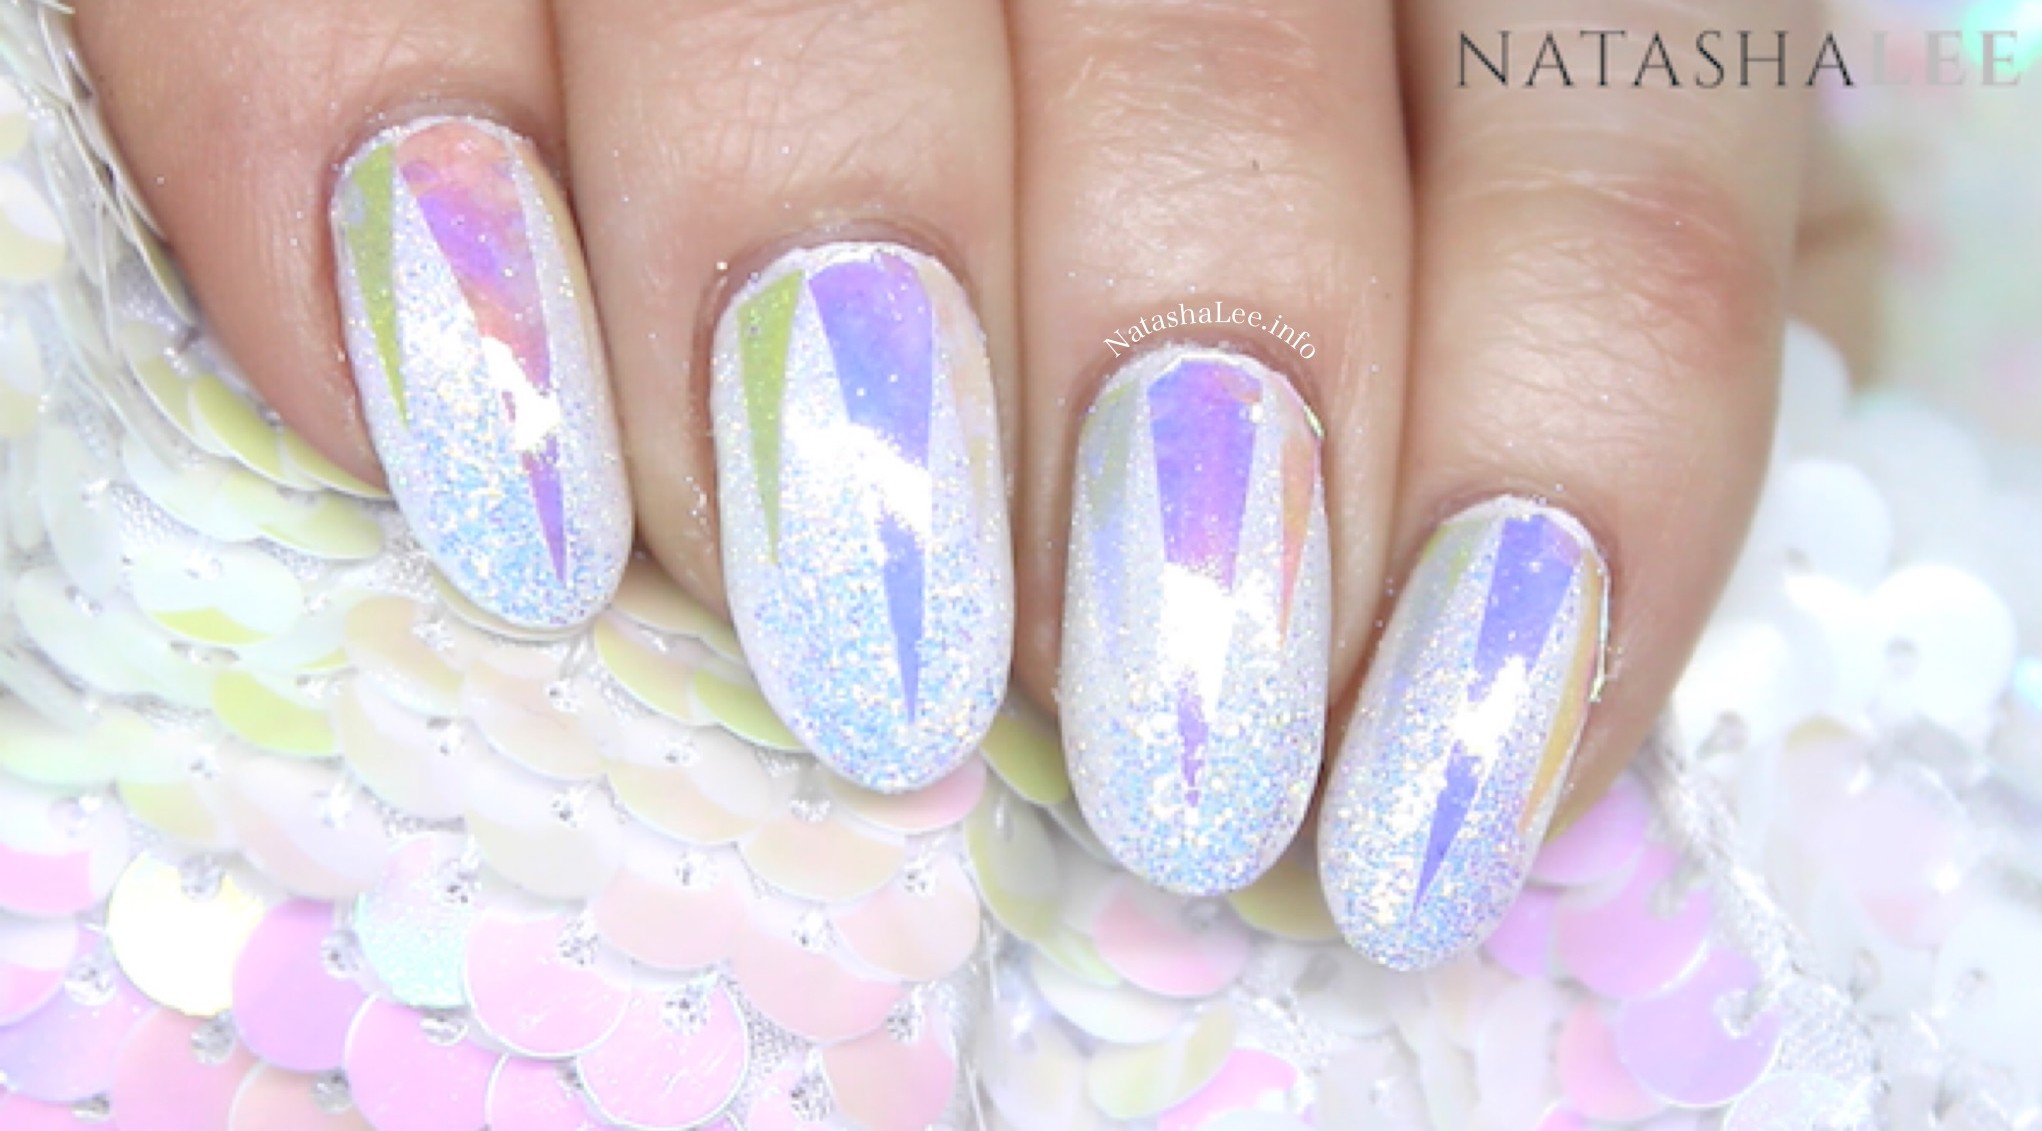
Unicorn Nail Art – Anyone who knows me well knows that since I was a little girl, I’ve had a “thing” for Unicorns and Pegasus. It’s something that I’ve had to rein in as an adult so I didn’t become like Kate Veatch from Dodgeball! I liked the glass nail trend when it was big, but thought there must be another way to use angel paper / iridescent cellophane with nail polish to make it sparkle even more?? So the best way I could think was to bring in holo and iridescent glitters and add in a shimmering dust! Overkill? No, there’s no such thing as overkill when unicorns are concerned! ?

HOLO GLASS UNICORN NAIL ART PRODUCTS/TOOLS
All of the products listed below are what I have used to create this look and all the links are clickable if you want to be able to purchase the items yourself.
BASE COAT
OPI ALPINE SNOW
STARRILY ECLIPSE
CRYSTAL KATANA
ANGEL PAPER/FILM
NAIL FX FOIL ADHESIVE
MAGPIE GLITTER LILLY
MAGPIE GLITTER BLOSSOM
MAGPIE DUST IRIS
SECHE VITE TOP COAT
NAILSINC SOS NAIL PEN
NAILSINC VITAMIN E OIL PEN
HOLO GLASS UNICORN NAIL ART METHOD
 As always, begin by performing a manicure (I have a blog here to help explain how to do a professional manicure at home). Apply base coat to all 10 nails and allow to dry.
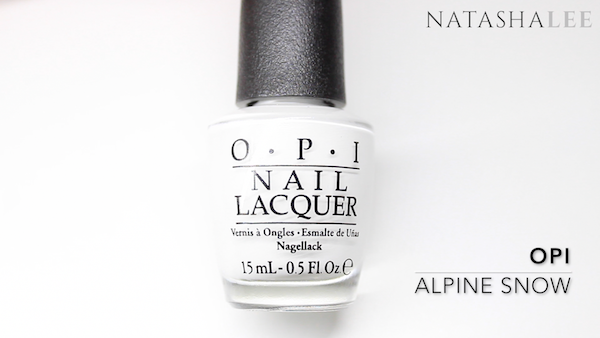 Next we are going to apply a generous coat of a white polish to all 10 nails. I’m using OPI’s Alpine Snow. This coat doesn’t have to be absolutely opaque as it’s going to be mostly covered later on in the design, but you do need it neat and even.
 Once that coat is touch dry, it’s time to add a little holo action! Apply a holo top coat over the white for a little extra sparkle. I’m using indie brand Starrily in Eclipse (and yes I probably only bought this originally because it had a unicorn head on the box!)
 Whilst the polish is drying, take your angel paper and select a piece that you want to use for your largest triangle / unicorn horn. Holding the paper over your nail, roughly work out the size that you need to cut out which will be slightly less than the length from your cuticle area to the tip of your nail. The cut out a section of the paper ready to create the triangles / horns. Cut 2 smaller sections from different coloured angle paper to create the smaller triangles / horns at the sides of the nails.
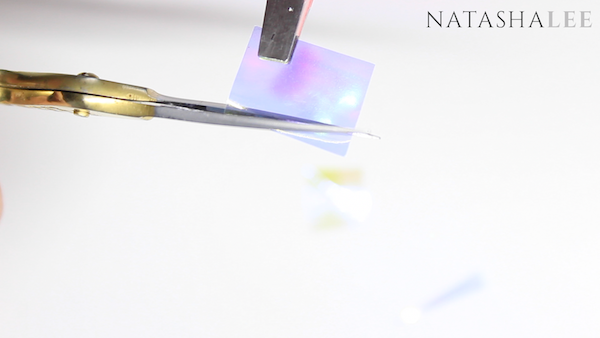 Holding the larger section of angel paper that you have cut out, in a pair of tweezers, cut long narrow triangles out of the section. You will need 10, one for each nail. Do the same with each of the smaller sections.
 OPTIONAL – Pick up each of the larger triangles with the tweezers holding them at the tip and snip the corners off the bottom of the triangle to get a more curved shape that will sit nicely in the cuticle area. Do the same with each of the smaller triangles but only cut of one corner to make a diagonal line.
 Once your polish is dry, apply foil adhesive to all 10 nails. I like the Nail FX foil adhesive after it came highly by Sarah R – Nail Art Designs. It applies with a blue hue, and once it is dry and ready to apply to, it is completely clear.
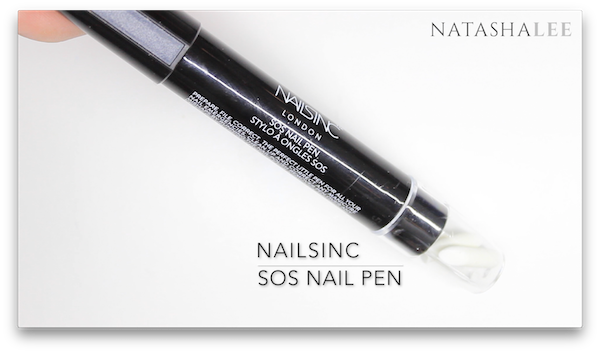 Clean up any areas where the adhesive has gone on the skin either using a brush dipped in nail polish remover or using the NailsInc SOS nail pen.
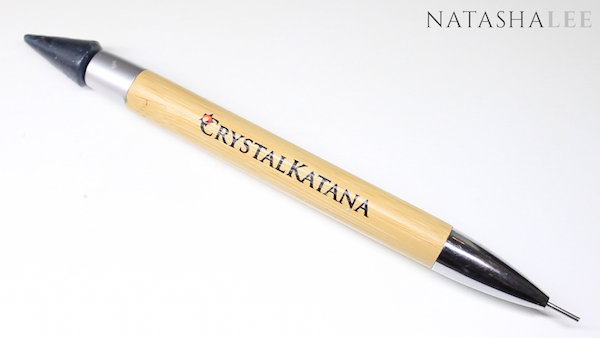 Once the nail foil adhesive is dry, you are ready to apply your angel paper/glass nails design to create your unicorn nail art. For fiddly tasks like this I like to use my Crystal Katana. Start by picking up one of the large triangles using the wax end of your Crystal Katana. Line it up on the nail where you want it to be, then place it onto the nail.
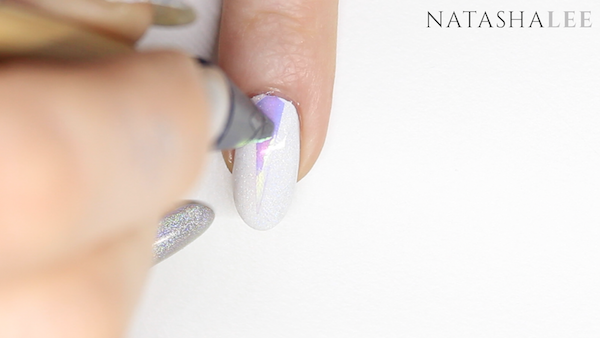
-
 Turn the Crystal Katana round and use the metal nib end to rub over the angel paper to make sure that it is properly stuck down onto the nail foil adhesive. Repeat this by applying a smaller triangle either side of the large triangle and continue this for all 10 nails.
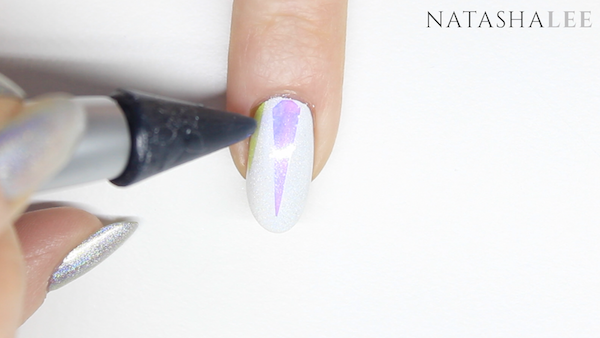
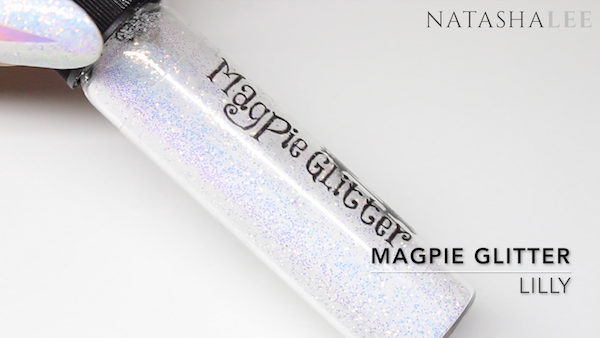 Now it’s time to start adding some glitter!! I’m beginning with Magpie Glitter in Lilly. Using an eyeshadow, fluffy nail art or gel brush, pick up some of the glitter and pat it down onto the tip of the nails. brush towards the cuticle area to create a gradient effect.
 Next taking Magpie Glitter in Blossom (which is extra fine) brush the glitter over the whole nails and sweep off any excess glitter.
 With all the excess glitter brushed off the nail, it’s time to go in with the Magpie Dust in Iris (my favourite!!) and again brush over the whole nail. With this being a dust as opposed to a glitter, it will fill in any tiny little gaps between the glitter flakes and make the whole nail shine a beautiful iridescent blue/purple which is perfect for unicorn nail art!
 Once you’ve removed all excess loose glitter and dust from the nails using your glitter brush or a fan brush, you are ready to apply top coat. It’s up to you, but when applying glitter or decals to the nails, I always like to apply a minimum of 2 layers of top coat to get that perfect mirror finish and shine for your glass and glitter unicorn nail art!
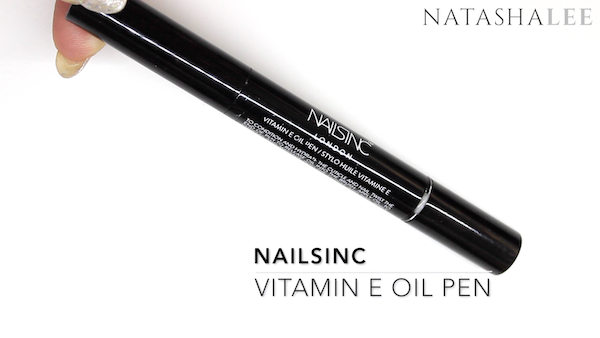
After you have applied your 2 layers of top coat and the polish is dry, it’s time to moisturise the skin around the nails. I like the NailsInc Vitamin E Oil Pen as it’s easy to control and soaks in quickly.
And that’s it!! Your finished, beautiful Holo Glass Unicorn Nail Art nails!! I just don’t want to take off these nails and they have had so many comments from people when I’ve been out and about! If you give this look or any of my others a try, then tag me on social media using #NatashaLeeBlogger or leave me a comment below. Alternatively if you prefer to watch a video tutorial then theres one at the top of the page or just click here.

Love & Ginger Hugs
Tasha xx
*contains affiliate links


