
This Neon Rainbow Smoke Nails nail art is a design that keeps popping up every few years and this year it seems to have really been embraced right now by the professional community, and it gives us a chance to use our neon pigments again! I’ve used a Magpie Gel products to create this look.
Neon Rainbow Smoke Nails Step 1
After applying basecoat and curing (if applicable with your preferred system) apply 2 coats of black gel polish, curing after each application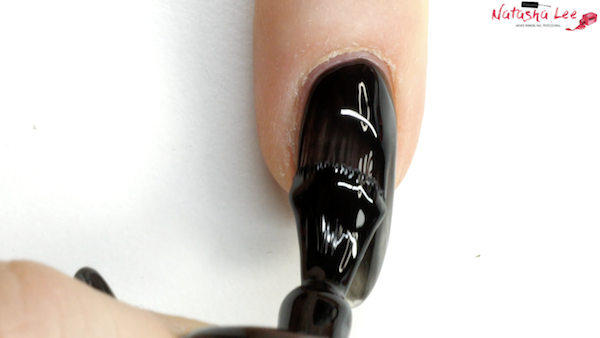 Neon Rainbow Smoke Nails Step 2
Apply a layer of top coat, preferably one that leaves a tacky layer after curing as this makes it easier to clean off excess pigment later. Cure and then remove tacky layer with 99% Isopropyl Alcohol (IPA).
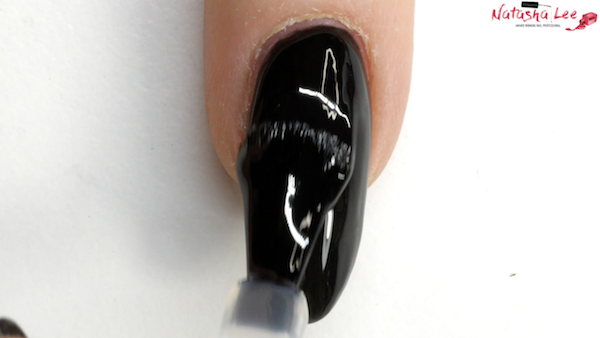
Neon Rainbow Smoke Nails Step 3
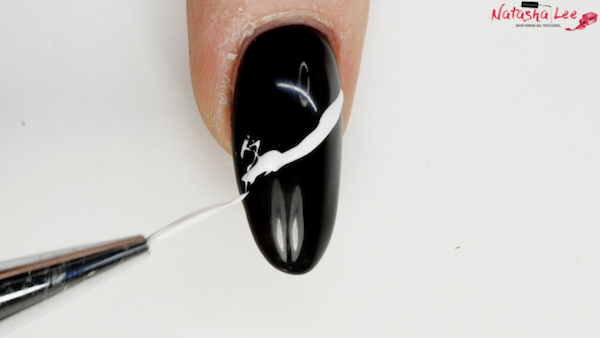
With a striping or long detailer brush, apply an uneven line of white gel polish on the nail. I find it looks best if it’s diagonally across the nail to eventually give the effect of smoke rising.
Neon Smoke Rainbow Nails Step 4
Clean off your brush, and with the dry clean brush, dab the white gel polish line haphazardly to unevenly spread the polish around.
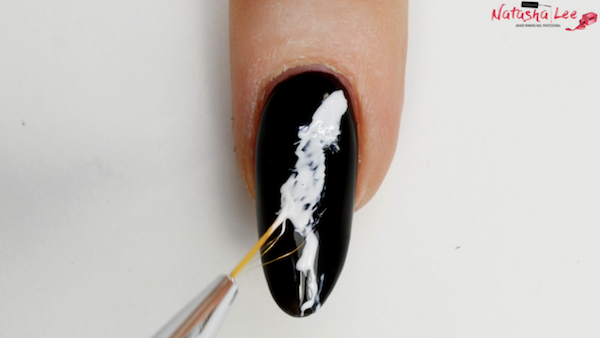
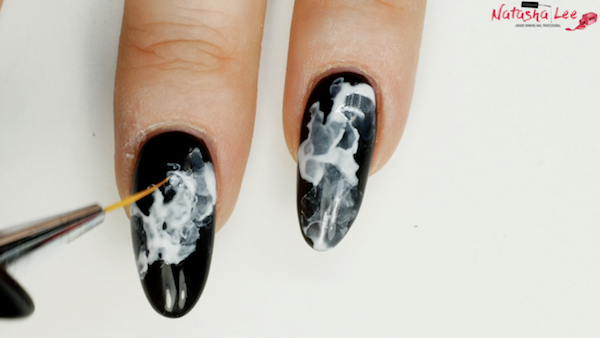
Neon Rainbow Smoke Nails Step 5
Clean off the brush again, and then use it to apply 99% IPA or rubbing alcohol to the nail. The white polish will begin to spread. Apply a little at a time before moving onto the next finger to allow the IPA to dry. Once dry, go back in with more IPA to make the white spread and bleed until you are happy with the effect.
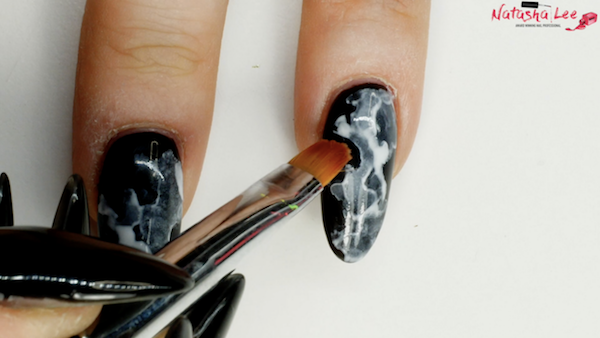
Neon Rainbow Smoke Nailart Step 6
Using a gel brush or clean up brush damped with IPA to clean up the image and remove excess white from the black areas. The sharper the definition between the white and the black, the more effective the finished design will be. Ensure the IPA has fully evaporated before curing the white.
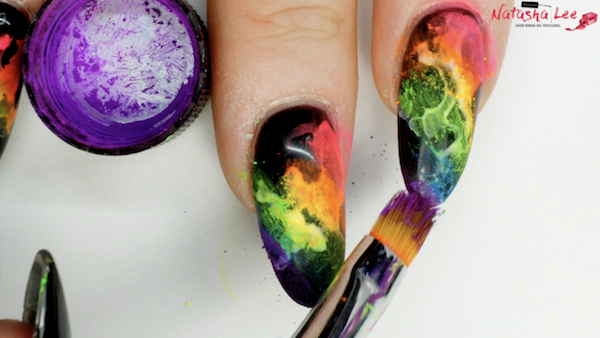
Neon Rainbow Smoke Nails Step 7
After choosing the pigment colours you are using in your design, plan the best order to go in. Start applying the pigments to the white in small amounts using an oval gel brush.

Rainbow Neon Smoke Nails Step 8
Continue with each colour blending it slightly into the one before until all the white is covered and you are happy with the look. Using a fan brush, lightly brush excess pigment off the nail.
Neon Smoke Rainbow Nailart Step 9
Apply 2 coats of top coat remembering to cap the free edge and cure after applying each coat. Remove the sticky layer using IPA.
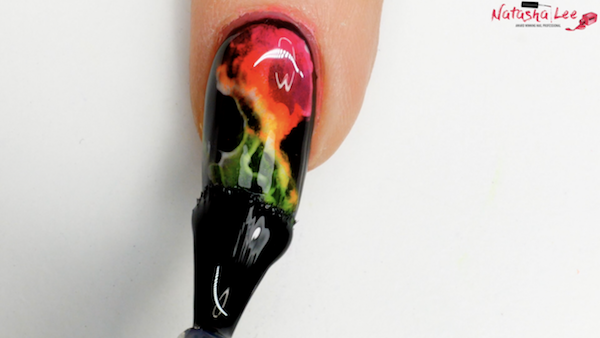
Neon Rainbow Smoke Nails Step 10
Your gorgeous Neon Rainbow Smoke Nails are finished! Play around with different designs and colour schemes, it’s such an easy but striking nail art effect and perfect for beginners. Watch my step by step video at the top of the page or head to my YouTube channel “Natasha Lee”.


